Bookcase-Cam - Days Sixteen to Eighteen
All week I thought I would be out of town this weekend -- it turned out not to be so, which allowed me to finish the face frames (woo hoo!).
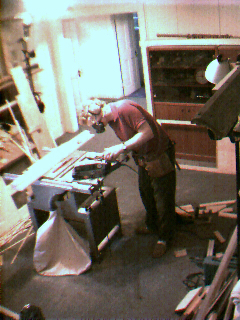
Here I create mini-biscuits for some of the narrower face frame parts; I found that the smallest standard biscuit size would protrude from the sides of the 2-inch frame members. But then I discover that if I set the cutter's depth guage between stops, the blade will cut a 1 3/4" slot -- perfect! I flip the belt sander onto its back and use it as a stationary sander, gripping a #0 biscuit with pliers and sanding it down until it just fits the "illegal" slot. It takes only about 30 seconds each to create a set of mini-biscuits in this way. (This ability to "turtle" the belt sander was a major reason I selected this Ryobi tool over its competition, and I am very pleased it has come in handy). The result is not as strong as a full biscuit joint, but it's mostly for alignment -- the face frames are primarily held in place by nails. With the cross-member in place, I sand the joints before bringing the face frame back upstairs.
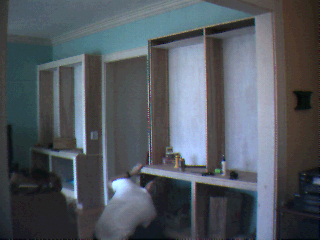
Final installation of the lower face frame involves gluing stiffeners to the back for support of the cabinet top & bottom (sag is not an option!), and careful alignment of all edges -- more difficult in this case because the solid poplar stock is somewhat warped, and poplar isn't exactly limber stuff...splitting hairs here and there, I get a result that is not quite perfect, but still rather satisfying.
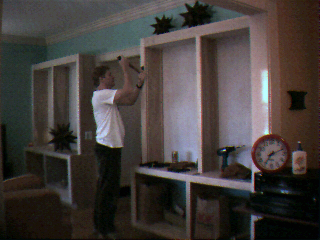
The upper face frame goes up quickly; the difficulties I had gluing up its north counterpart down in the shop persuaded me to do the gluing for this one in place, which allowed better control and squaring. At last I sink all the face frame nails into place. I leave the heads proud until I am certain I won't have to remove the frame; here I pull one out that has too small a head, which would reduce its holding power. In this box of 8-penny finish nails, about every fifth one has this problem.
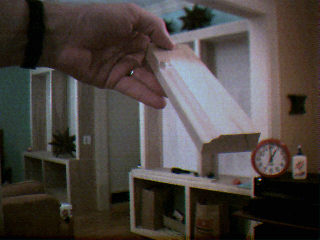
Sunday I go in search of a router bit with which to create a molding that matches the existing trim profile. I find a "Roman ogee" bit that comes close, especially if I smoosh a line of caulk into a sharp corner to soften it, as in the original. There's a distinct family resemblance, but since the new trim will be applied within scant inches of the old, I will either find a better match in a woodworking specialty shop, or have one made -- an expensive route perhaps, but well worth it considering other projects that are on the drawing board. (In making this test piece, I also created another fine table saw accessory -- a substitute base for my router that fixes it onto the table saw so that I can use it as a router table!)
Note the bottle of glue next to the clock in this picture. It is empty, and is thus significant: although it's by no means the only such bottle I have ever purchased, it is the ony one I've emptied rather than throwing away after it got too old & clogged to use -- i.e., it represents a sustained level of woodworking actvity on my part. Another bottle (obscured in this shot by the middle upright of the south case) is nearly at the same stage. I am happy, and yes, just a little bit proud.
Initial week of daily activity: |
Day 1 |
2 |
3 |
4 |
5 |
6 |
7,8 |
9 |
Long-term weekend progress: |
10 |
11 |
12,13 |
14,15 |
16-18 |
19 |
Intermittent bursts of effort: |
20-22 |
23-31 |
32-35 |
Bookcase-Cam Home
Comments? e-mail me.